 How-to
How to Prevent Timber Fence Rot and Sagging
Last Updated: October 29, 2026
Quick Summary
Timber fence rot is prevented by keeping water away from the posts at ground level. Use pressure-treated posts rated for ground contact, set each post in coarse gravel for drainage, and apply preservatives, bitumen or sealants. Inspect the fence regularly so sagging and soft spots are caught early.
- Choose pressure-treated timber rated for ground contact, not just above-ground use.
- Set each post in a bed of coarse gravel so water drains away from the timber.
- Keep soil and mulch pulled back from the post base.
- Walk the fence line every 3 months to look for leaning, gaps and soft spots.
- Press a screwdriver into post bases yearly; if it sinks in, the post is failing.
Table of Contents
- Why Timber Fences Rot and Sag
- How to Prevent Fence Post Rot at Ground Level
- Protecting Timber with Preservatives, Bitumen and Sealants
- Timber Fence Maintenance Schedule and Inspection Checklist
- How to Fix a Leaning Fence Post
- Replacing a Rotted Fence Post Step by Step
- Booking Your Timber Fence Inspection or Repair
- Frequently Asked Questions
Timber fences rarely fall down overnight. They rot slowly at ground level, then lean, then sag, and by the time the damage shows, the fix is often a full replacement. Catching timber fence rot early keeps that from happening. Most of it is preventable with a few routine steps. This guide from AK FENCING VIC PTY LTD walks through how to stop timber fence rot and sagging before it starts, and how to deal with it when it has already begun.
Why Timber Fences Rot and Sag
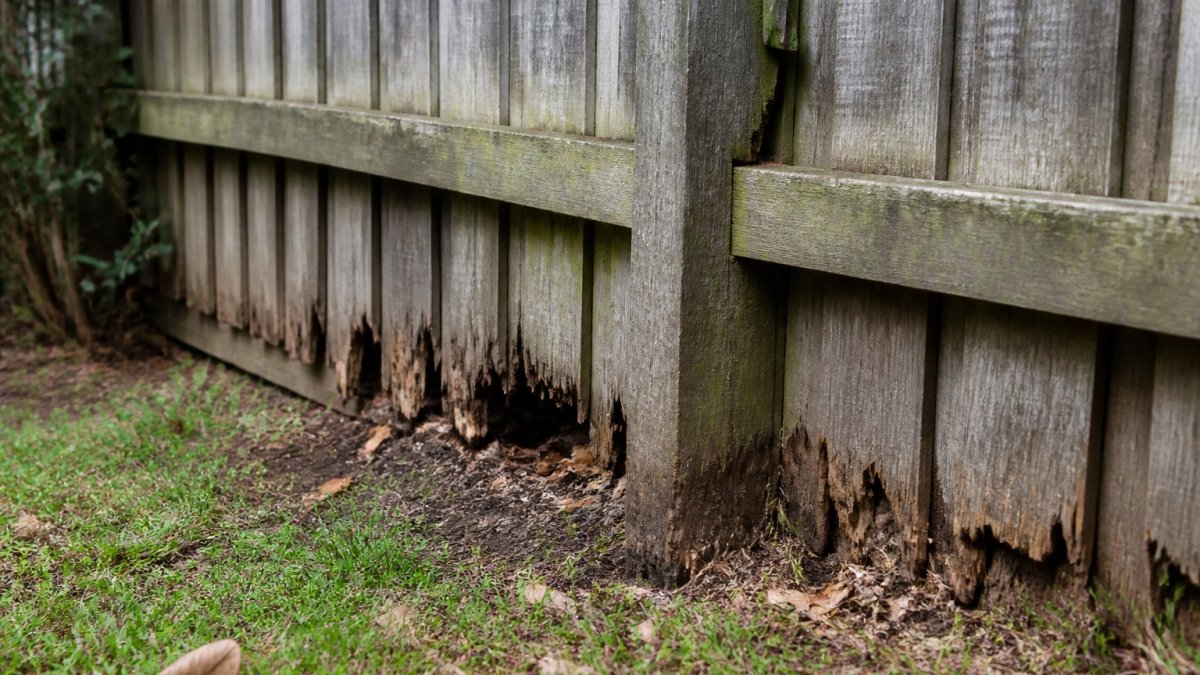
Rot needs three things: moisture, oxygen and a food source in the wood. The ground supplies the moisture, so the parts of a fence that sit in soil or touch wet earth fail first. Posts usually go before panels because their bottom ends are buried and stay damp.
Sagging follows from rot. Once a post softens, it stops holding the fence rails level, and the weight of the panels pulls the line downward. Wind, heavy rain and soil movement speed this up.
Signs of rot and movement to check for
Walk the fence line every few months and look for:
- Soft, spongy wood when you press a screwdriver into the post base
- Dark staining, crumbling edges or fungal growth near the ground
- A post that rocks or moves when you push it
Catching these early means a repair is usually a few posts, not the whole fence.
How to Prevent Fence Post Rot at Ground Level
Ground contact is the weak point. Protect the posts where they meet the soil and you protect most of the fence.
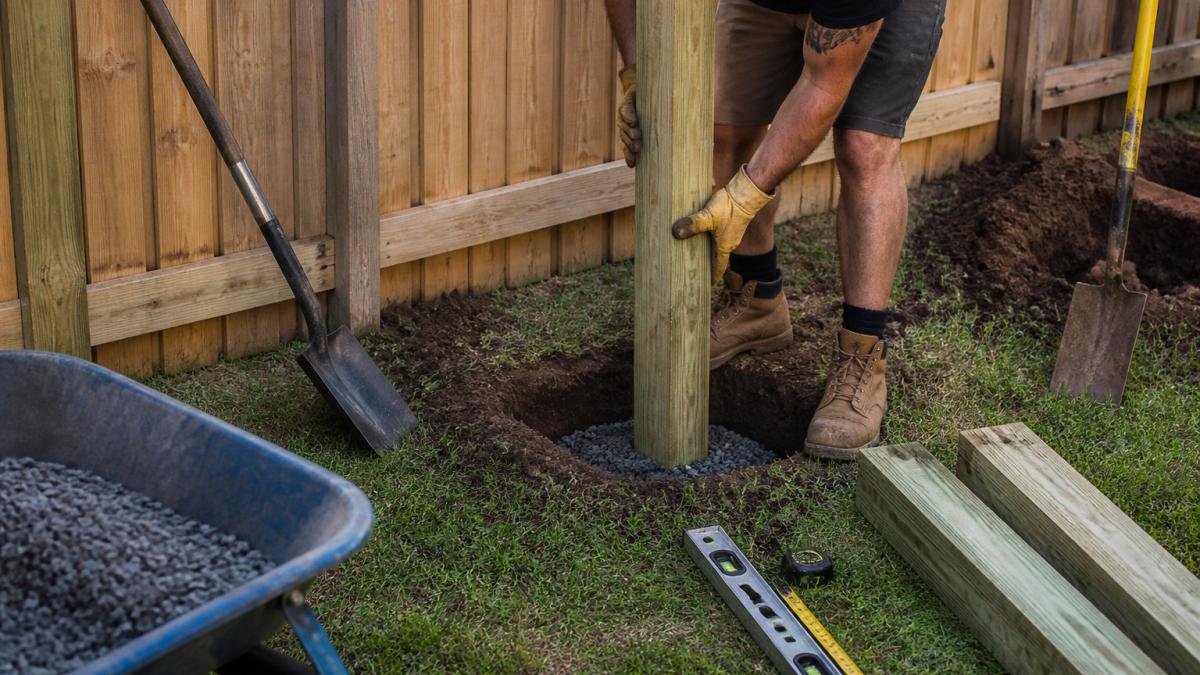
Choosing pressure-treated timber for posts
Pressure-treated timber has preservative forced deep into the wood, which resists decay far better than untreated pine. Choose a treatment rated for ground contact, not just above-ground use. Check the timber's stamp or label, and ask your supplier to confirm the rating before you buy.
Treated timber is not rot-proof forever. It slows decay, but it still benefits from good drainage and regular checks.
Gravel drainage and post sleeves
Standing water is what drives rot at the post base. Two simple measures help:
- Set each post in a bed of coarse gravel at the bottom of the hole so water drains away from the timber
- Fit a post sleeve or metal spike base so the timber sits above the soil line
Keep soil and mulch pulled back from the post base, and avoid burying the timber deeper than the design requires. Good drainage costs little and does more than almost any other step.
Protecting Timber with Preservatives, Bitumen and Sealants
Once the posts and panels are set, a protective coating adds another layer of defence. Each product has a different job, so match the product to the part of the fence.
- Wood preservatives soak into the timber and fight fungus and insects from within. Apply to bare, dry timber for best results.
- Bitumen paint creates a waterproof barrier on the buried section of a post. It is a practical choice for the ground-contact zone.
- Weather-resistant sealants keep rain off the exposed faces and reduce swelling and cracking.
Recoat on the schedule the product label gives, and sooner if the coating starts to peel or fade. A common mistake is painting over wet or dirty timber, which traps moisture and speeds rot.
Timber Fence Maintenance Schedule and Inspection Checklist
A fence rarely fails suddenly. Regular checks catch problems while they are still cheap to fix.
Use this simple schedule:
- Every 3 months: walk the line and look for leaning, gaps and soft spots
- Every 6 months: clear moss, mildew and vegetation away from the timber
- Every year: test post bases by pressing a screwdriver into the wood
Cleaning matters too. Moss and mould hold moisture against the wood, so a gentle scrub with a stiff brush keeps the surface drier. Rinse well and let it dry fully before recoating.
Regular checks catch problems while they are still cheap to fix. The article suggests this schedule:
| Interval | Check or task |
|---|---|
| Every 3 months | Walk the line and look for leaning, gaps and soft spots |
| Every 6 months | Clear moss, mildew and vegetation away from the timber |
| Every year | Test post bases by pressing a screwdriver into the wood |
| Every 1 to 2 years | Inspect and recoat preservatives or sealants as needed |
| After storms | Check for loose panels, lifted posts and debris damage |
How to Fix a Leaning Fence Post
A leaning post is the visible symptom; the cause is usually at or below ground level. Before you straighten anything, work out whether the post has rotated in its hole, the footing has shifted, or the timber itself has softened. Each has a different fix, and treating the wrong one wastes a weekend.
Diagnose before you dig
Push the post firmly at waist height in two directions. Then check:
- Post moves as one piece with the soil, the footing has shifted or the hole has widened. The timber may still be sound.
- Post rocks independently of the soil, the base is rotten or the post has shrunk away from its footing.
- Post is plumb but the rails sag, the problem is fixings or rail ends, not the post.
Press a screwdriver into the timber at the soil line. If it sinks easily, the post is failing from the inside and straightening it will not last.
When bracing is enough
If the post is sound and only slightly out of plumb, temporary bracing can hold it while the ground settles. Drive a stake at 45 degrees to the post, fix a brace between them, and leave it for a few weeks. This suits new fences or posts disturbed by digging nearby, it is not a fix for a post that has already rotted.
When to reset the post
Reset the post when the timber is firm but the hole has widened or the post has rotated:
- Dig out soil around the base to expose the footing and check how far any rot extends.
- Cut away soft wood until you reach solid timber.
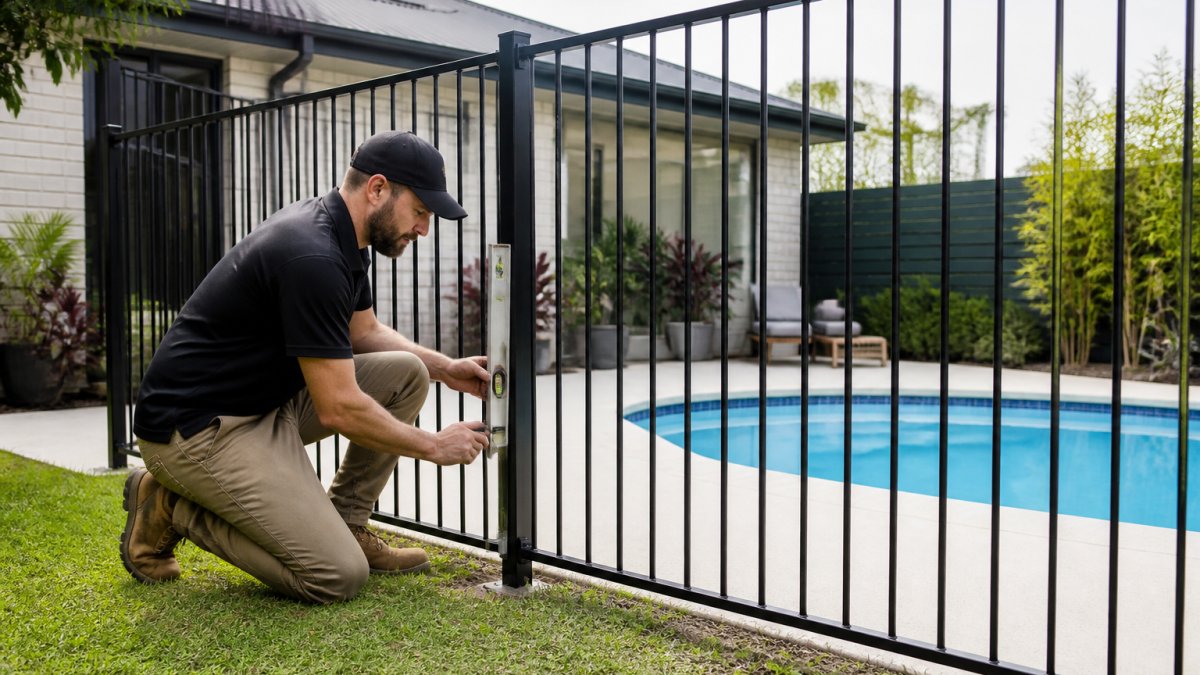
- Reset the post plumb, checking with a level on two adjacent faces.
- Backfill with coarse gravel in layers, tamping each layer before adding the next.
- Brace the post until the fill settles, then recheck plumb after a few days.
If the post is soft right through, or the hole has shifted so far that gravel will not hold it, move to a full replacement rather than patching.
Correcting a sagging rail or panel
Sagging between posts is usually a fixing problem, not a rot problem. Check the rail ends where they meet the post: loose nails, split timber and rusted brackets all let the rail drop. Replace fixings with galvanised coach screws or brackets sized for the rail, and pack any gap between rail and post with a treated offcut before tightening. If the rail itself has bowed, replace that rail rather than trying to straighten it.
Replacing a Rotted Fence Post Step by Step
Replacement is the right call when the post is soft through its core, when the footing has failed, or when a splice would leave too little sound timber to carry the load. Before you cut anything, decide which of the three repair paths applies.
Decide: splice, reset or replace
- Splice, only when the rot is confined to the bottom section and at least two-thirds of the post above ground is sound. A treated splice plate or a metal post repair spike lets you keep the original post.
- Reset, when the timber is sound but the footing has moved. Pull the post, re-excavate and re-set it with proper drainage.
- Replace, when rot runs through the post, when the post has cracked along its length, or when the footing cannot be salvaged.
A common pattern is to splice a post that should have been replaced, then find the same post failing again within a couple of seasons. You can also browse fencing posts as a replacement option. If in doubt, replace. Sturdier options such as an aluminium batten fence panel can also be considered when replacing a timber fence.
Choose the right replacement timber
Match the treatment to the exposure. Posts in ground contact need a treatment rated for ground contact, check the stamp or label and confirm the rating with your supplier before buying. Above-ground rails and palings can use a lower rating. For wet sites or posts that sit in heavy clay, a higher hazard rating is worth the extra cost.
Step-by-step replacement
- Support the panels. Brace the fence line either side of the post with temporary props so the rails do not drop when the post is removed.
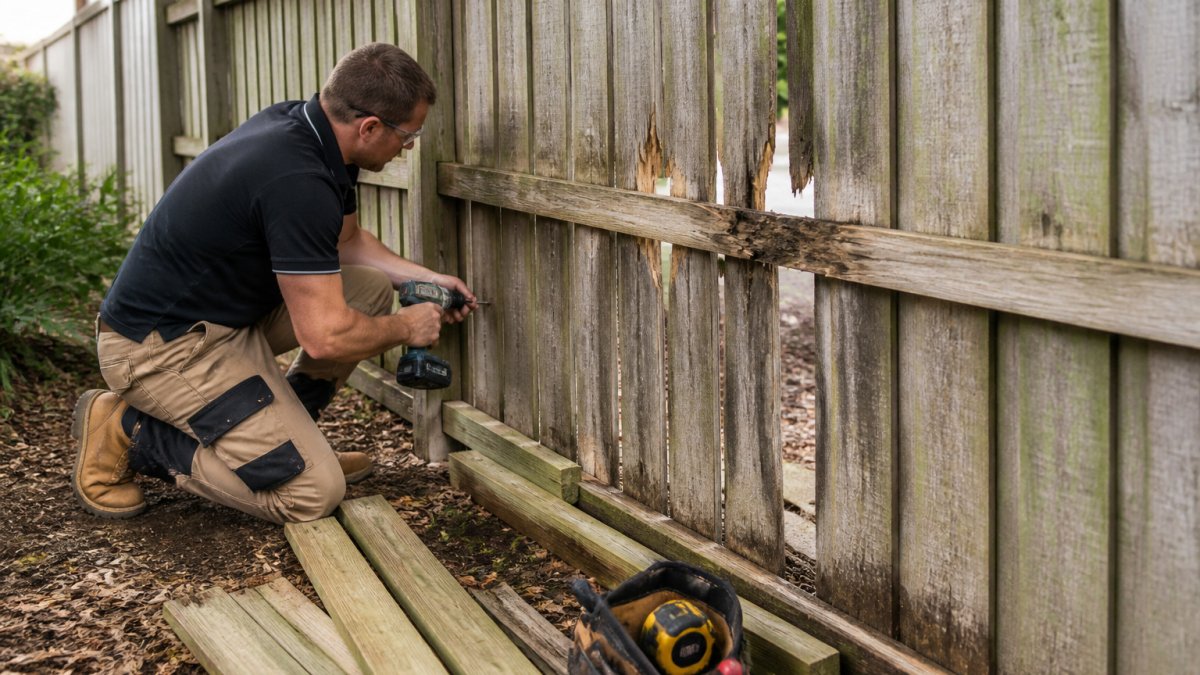
- Cut and remove. Cut the old post off at ground level, then dig out the remains along with the old concrete or compacted soil. Remove all rotten timber, leaving fragments in the hole invites the same decay back.
- Prepare the hole. Make the hole deep enough to take the post plus a gravel base, and wide enough to tamp the backfill properly. Slope the surrounding soil away from the hole so surface water runs off rather than pooling at the base.
- Set a gravel base. Add coarse gravel to the bottom of the hole and tamp it flat. This is the drainage layer that keeps the post end out of standing water.
- Fit the post. Set the new treated post in place, with a post sleeve or metal spike base if you are using one. Check plumb in two directions.
- Backfill in layers. Tamp gravel or soil in layers rather than dumping it in one go, loose fill settles and lets the post move.
- Protect the buried section. Apply bitumen paint or a ground-contact preservative to the buried section before backfilling, and recoat the visible timber once the post is set.
- Reattach and check. Reattach the rails and panels, then recheck plumb and rail height before removing the temporary bracing.
Replacing one post correctly usually costs far less than replacing the whole fence. Pricing depends on quantity, dates and delivery, so check the current options on our supply and installation page or ask us for a quote.
Booking Your Timber Fence Inspection or Repair
Some problems need an expert eye, especially when a fence leans across a whole run or the posts have moved. A professional inspection shows whether a repair or a replacement makes more sense, and it saves guessing.
To start, request a quote and describe the problem. Our team is fully licensed and insured, and every installation carries a workmanship guarantee.
Frequently Asked Questions
How do you stop timber fence posts from rotting?
Keep water away from the timber at ground level. Use treated pine posts rated for ground contact, set them in coarse gravel for drainage, and fit a post sleeve or cap to shed rain. Coat the buried section with bitumen or a wood preservative before installation, and seal exposed cut ends. Check the base each year for soft spots, since the ground line is where rot almost always begins.
How can I prevent a timber fence from sagging?
Sagging usually comes from loose posts or rails that have lost their fixings. Set posts firmly in compacted gravel and concrete where needed, use galvanised or stainless fixings, and replace any rail that has split. Check alignment with a string line after heavy rain or strong wind, and tighten or re-brace posts before the lean becomes permanent.
Should timber fence posts be set in concrete to prevent rot?
Concrete can hold a post firmly, but it can also trap moisture against the timber if the hole does not drain. Many installers set posts in gravel with a concrete collar near the top, which keeps the base dry while providing rigidity. Whatever method you use, make sure water can drain from the bottom of the hole.
When should a rotting fence post be replaced?
Replace a post when it is soft when probed with a screwdriver, when it moves under light hand pressure, or when rot extends above the ground line. A post that has lost its grip cannot support the fence panels or rails, so repair is rarely worthwhile once it fails at ground level. Replacing one post early is cheaper than repairing the sagging run that follows.
Australian Standard for timber preservation (AS 1604)