 How-to
Fencing Maintenance Checklist for Homeowners
Last Updated: October 23, 2026
Quick Summary
A fencing maintenance checklist is your first line of defence against costly repairs by catching small problems early through monthly inspections and seasonal deep cleaning. Walk your fence monthly for 20 minutes to check posts for movement, test gate function, and clear debris buildup, then perform seasonal tasks like cleaning, sealing timber every 2-3 years, and addressing repairs promptly.
- Monthly fence inspections take 20 minutes and prevent most problems by checking post movement, gate function, and debris buildup
- Timber fences last 15-20 years with proper care but only 5-7 years without it, making sealing every 2-3 years essential
- Use low pressure of 1,500-2,000 PSI maximum when pressure washing timber to avoid stripping wood grain and creating splinters
- Replace a fence section when more than 30% is damaged or repair cost exceeds 50% of replacement cost
- Spring is the ideal season for major repairs when weather is mild, ground is workable, and winter damage is visible
Table of Contents
- Why Regular Fencing Maintenance Matters
- Monthly Fence Inspection Checklist
- Timber Fence Maintenance and Protection
- How to Clean a Fence and Remove Grime
- Recognising Fence Repair Signs and When to Act
- Seasonal and Annual Maintenance Tasks
- Tools and Supplies You'll Need
- Conclusion
- Frequently Asked Questions
Why Regular Fencing Maintenance Matters
A fencing maintenance checklist is your first line of defence against costly repairs.
Regular inspection catches these issues early, when they're cheap and easy to address.
Think of your fence like your car: you don't wait until the engine fails to check the oil.
Here's what you'll learn: how to spot damage before it spreads, which maintenance tasks matter most, and when to call a professional.
Monthly Fence Inspection Checklist
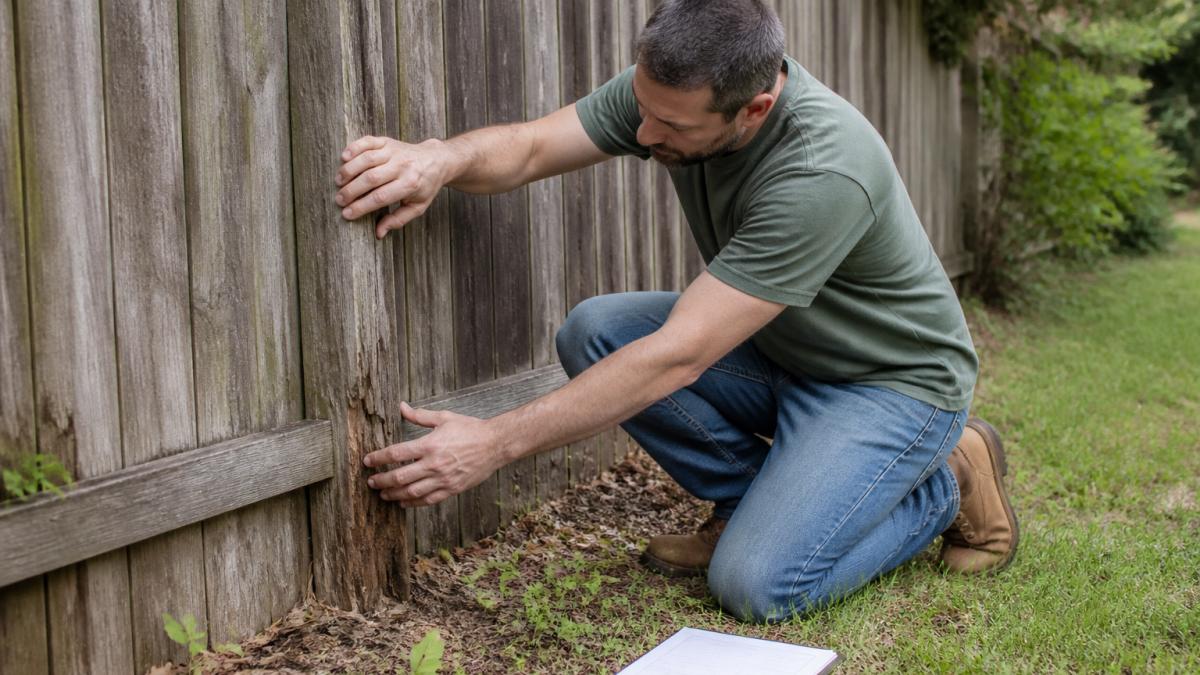
Walk your fence line once a month. This takes 20 minutes and prevents most problems. You're looking for three main things: post movement, gate function, and debris buildup.
Check Posts for Movement and Leaning
Push firmly on each post about halfway up. A solid post won't budge. If it moves or feels loose, you have a problem.
Leaning posts are common. Stand back and look along the fence line; posts should be vertical.
Check the base of each post. Look for:
- Soil erosion around the post
- Water pooling near the base
- Visible concrete damage or crumbling
A loose post can be tightened if caught early; a badly leaning post may need replacement.
Inspect Gates and Hardware
Gates take more stress than fence panels, swinging hundreds of times per year and wearing hinges, latches, and locks.
Test your gate operation:
- Does it swing freely without binding?
- Does it close smoothly and latch properly?
- Are hinges tight or do they rattle?
Check hardware for rust and corrosion. Rusty bolts and hinges are weak. Tighten any loose bolts with a wrench.
Check the gate frame: a twisted frame won't close properly and stresses the hinges. Address it before the gate fails completely.
Remove Debris and Clear Drainage
Leaves, branches, and dirt accumulate against your fence, trapping moisture and accelerating rot. Clear debris monthly, especially after storms.
Pay attention to drainage around the fence. Water should flow away from posts, not pool against them. If you see standing water:
- Clear gutters and downpipes directing water toward the fence
- Grade the soil away from the fence line
- Install drainage if needed in problem areas
Leaves trapped in fence corners hold moisture for weeks, this is where rot starts in timber fences. Brush them out and keep the base clear.
Timber Fence Maintenance and Protection
Timber is beautiful but vulnerable. It faces rot, splintering, and weather damage. With proper care, a timber fence lasts 15-20 years. Without it, 5-7 years is typical.
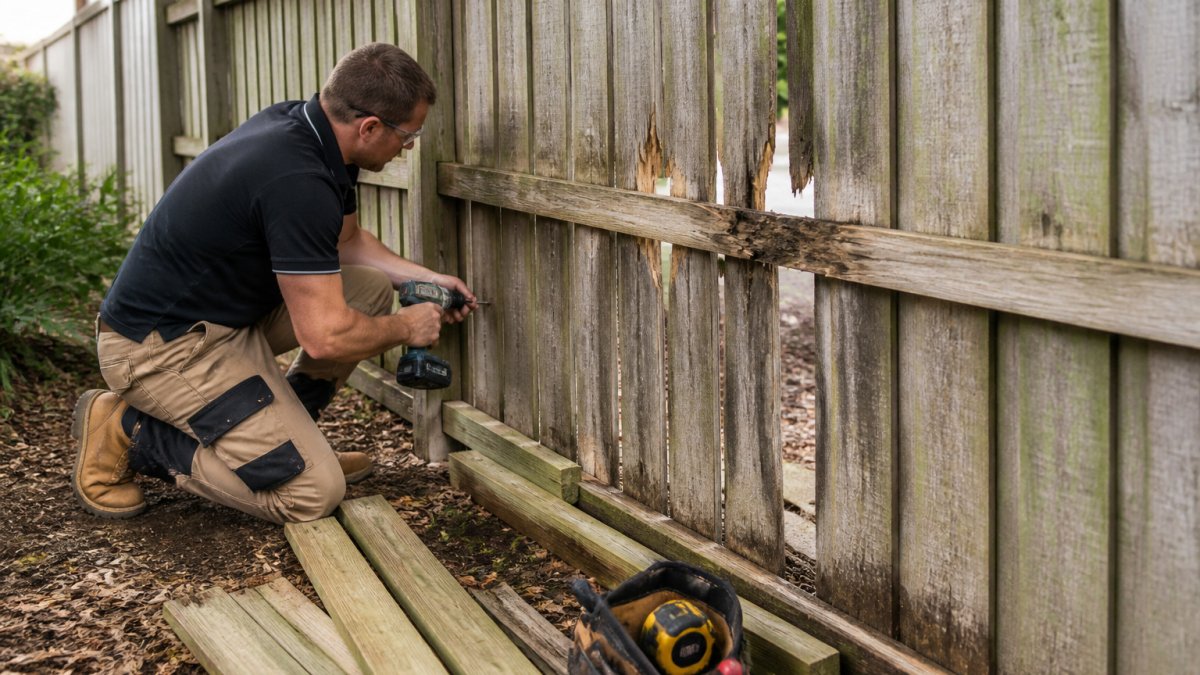
Identify Splintering, Rot, and Knotholes
Run your hand along timber boards. Splintering timber is rough and dangerous, especially for children and pets.
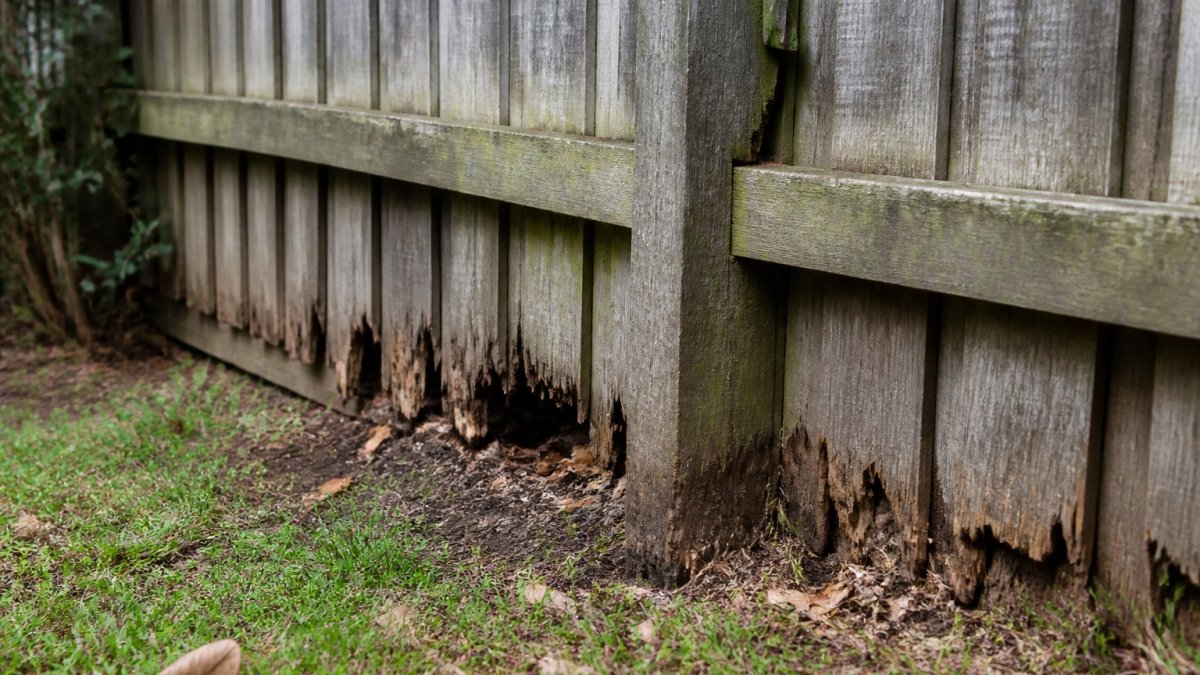
Rot appears as soft, discoloured wood. Press a screwdriver into suspect areas.
Knotholes are weak points. They're natural defects in timber. Small knotholes are fine.
Check the bottom of boards first. This is where rot starts. Timber in contact with soil rots fastest.
Seal and Stain Your Timber Fence
Sealing timber is the single best investment for fence longevity. A good sealant blocks water and UV damage.
Seal your timber fence every 2-3 years. The process is straightforward:
- Clean the fence thoroughly (covered in the next section)
- Let it dry completely (24-48 hours after cleaning)
- Apply sealant with a brush or sprayer
- Follow product instructions for drying time
- Apply a second coat if recommended
Stain adds colour and extra protection, penetrating timber better than paint, which sits on the surface and peels.
Choose products rated for outdoor use. Interior sealants won't hold up to weather. Quality matters here, cheap sealants fail quickly and waste your effort.
How to Clean a Fence and Remove Grime
Dirt, algae, and mildew make your fence look old and damage the material. Cleaning restores appearance and removes rot-causing moisture.
Safe Pressure Washing by Material
Pressure washing is fast and effective, but too much pressure damages timber and vinyl.
Timber fences: Use low pressure only. Start at 1,500-2,000 PSI maximum.
Colorbond and metal fences: These handle higher pressure. 2,500-3,000 PSI is safe.
Vinyl fences: Use low pressure, around 1,500 PSI.
If you don't own a pressure washer, rent one or hire a professional.
Treating Algae and Mildew
Algae appears as green or brown growth; mildew is white or black.
For light algae and mildew:
- Mix one part white vinegar with three parts water
- Spray onto affected areas
- Let sit for 15-20 minutes
- Scrub with a soft brush
For heavy growth, use a commercial algae and mildew cleaner. Follow product instructions.
Pressure washing removes algae effectively at low pressure; combine it with a cleaner for best results, and always rinse thoroughly to remove residue.
Prevention is easier than treatment. Trim overhanging branches to increase sunlight. Clear debris that traps moisture. Ensure good drainage around the fence base.
Recognising Fence Repair Signs and When to Act
Some problems are urgent. Others can wait. Knowing the difference saves money and prevents safety issues.
Metal Fencing: Rust Prevention and Treatment
Metal fences, including Colorbond, can rust if damaged or poorly maintained. Rust spreads and weakens the metal.
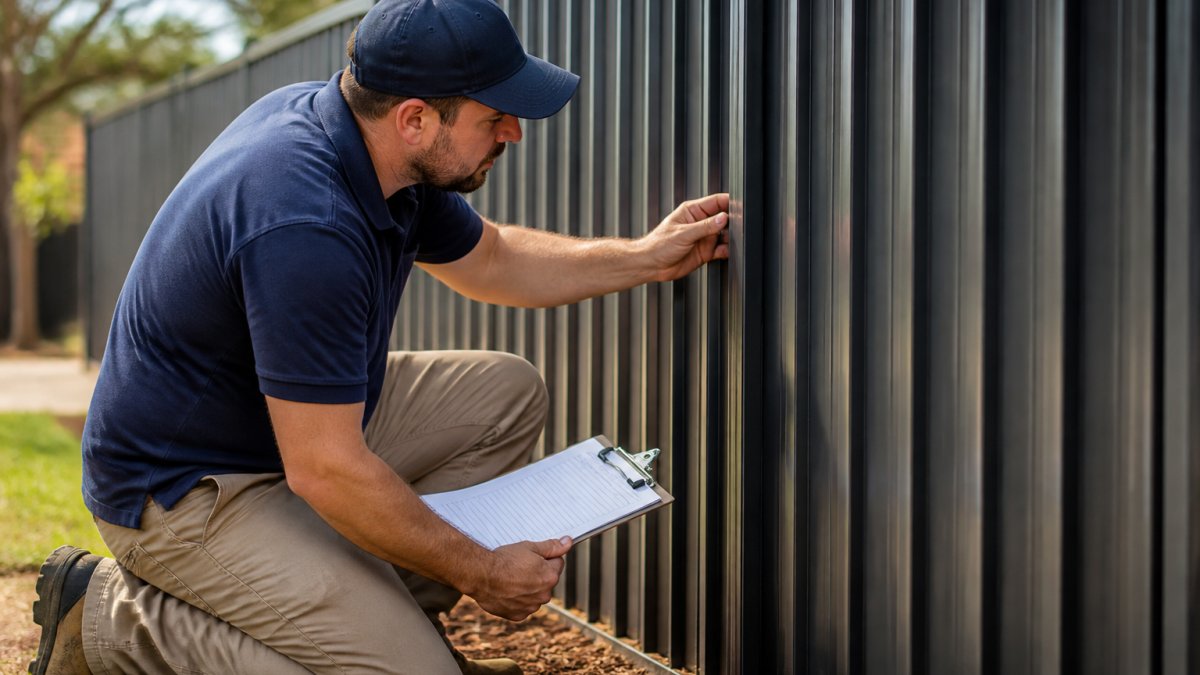
Inspect metal fences monthly for:
- Rust spots or discolouration
- Scratches or cuts in the coating
- Loose or missing fasteners
- Corrosion around welds
Treat rust early. For surface rust:
- Scrub with a wire brush
- Wipe clean with a dry cloth
- Apply rust converter (a chemical that stops rust progression)
- Paint over with metal-safe paint
For deeper rust that has created pits or holes, the affected section needs replacement. Rust that penetrates the metal weakens it structurally.
Prevent rust by:
- Keeping the fence clean and dry
- Touching up scratches and chips immediately
- Ensuring good drainage so water doesn't pool
- Using high-quality sealants designed for metal
Colorbond fences are pre-coated and rust-resistant when properly maintained. Damage to the coating (dents, scratches, impact) exposes the steel underneath.
When to Replace Rather Than Repair
Not every problem is worth fixing. Sometimes replacement is the better choice.
Replace a section when:
- The post is severely leaning or moving
- Multiple boards are rotted or damaged
- The gate frame is twisted and won't close
- More than 30% of a section is damaged
A single damaged board is easy to replace, but a whole section with multiple failed boards is worth replacing as a unit, faster, stronger, and often cheaper than patching multiple issues.
For metal fences, a single rusted panel can be replaced. If rust is widespread, replacement is more economical than treating multiple spots.
Get quotes for repair versus replacement, sometimes the numbers surprise you, and replacement is cheaper and faster.
Seasonal and Annual Maintenance Tasks
Maintenance needs change with the seasons. A spring inspection focuses on winter damage. Summer maintenance emphasises protection from sun and heat.
Spring Inspection and Preparation
Spring is when damage from winter becomes visible. Snow load, frost heave, and wind stress show up now.
Spring checklist:
- Walk the entire fence and document damage
- Check posts for movement caused by frost heave
- Clear winter debris (leaves, branches, fallen limbs)
- Inspect timber for new rot or splintering
Spring is ideal for major repairs. Weather is mild, the ground is workable, and you can see damage clearly. If you need to replace posts or sections, spring is the time.
Summer and Autumn Care
Summer brings heat, UV exposure, and dry conditions. Timber can crack if it dries too quickly. Metal can expand and stress fasteners.
Summer maintenance:
- Ensure good drainage, don't let water pool
- Trim landscaping to maintain airflow
- Check for heat-related movement or gaps
- Inspect timber for checking (surface cracks)
Autumn brings falling leaves and rain. Leaves trap moisture and cause rot. Wind can loosen fasteners and stress posts.
Autumn checklist:
- Clear leaves regularly
- Inspect for storm damage after heavy winds
- Check drainage before heavy autumn rains
- Tighten loose bolts and fasteners
Winter Protection and Drainage
Winter is harsh. Snow load stresses posts. Ice formation can shift soil. Frost heave pushes posts upward.
Winter preparation:
- Ensure excellent drainage so water doesn't pool and freeze
- Clear snow from around fence posts if heavy snow is expected
- Check posts for movement after frost events
- Inspect for ice damage after thaws
Don't apply sealant in winter. Cold temperatures prevent proper curing. Wait until spring when temperatures are above 10°C.
Tools and Supplies You'll Need
You don't need expensive equipment for basic maintenance. Here's what works:
Inspection tools:
- Screwdriver (for probing soft wood)
- Tape measure
- Clipboard and pen (to document issues)
- Flashlight (for dark areas)
Cleaning supplies:
- Broom and dustpan
- Stiff-bristled brush
- Soft brush (for delicate surfaces)
- White vinegar
Repair and maintenance:
- Wrench set (for tightening bolts)
- Hammer
- Screwdriver set
- Sandpaper (various grits)
For major work like post replacement or large repairs, hire a professional.
Conclusion
A fencing maintenance checklist keeps your fence strong and saves money over time. Monthly inspections catch problems early. Seasonal tasks prevent weather damage.
The schedule is simple: walk your fence monthly, do seasonal deep cleaning, and address repairs promptly.
If you're unsure about a repair or lack the tools and confidence to do the work, that's where professionals help.
| Maintenance Task | Frequency | Best Season | Time Required |
|---|---|---|---|
| Post inspection | Monthly | Year-round | 20 minutes |
| Gate operation check | Monthly | Year-round | 5 minutes |
| Debris removal | Monthly | Year-round | 15 minutes |
| Algae and mildew treatment | As needed | Spring/autumn | 1-2 hours |
| Fence cleaning | Annually | Spring | 2-4 hours |
| Sealant application | Every 2-3 years | Spring/early summer | 4-8 hours |
| Storm damage inspection | After storms | Year-round | 30 minutes |
| Deep seasonal inspection | Quarterly | All seasons | 1-2 hours |
Frequently Asked Questions
How often should you inspect and maintain a fence?
Conduct a thorough fence inspection checklist monthly, walking the fence line to check for loose boards, leaning posts, and debris accumulation. Perform seasonal deep inspections in spring and autumn, and an annual comprehensive review covering all materials, hardware, and drainage. After severe weather, inspect for fresh damage immediately. Regular monitoring catches small issues before they become costly repairs.
What are the main signs your fence needs repair?
Watch for fence repair signs including leaning or unstable posts, cracked or splintered timber, loose boards or rails, rust on metal fencing, sagging sections, widening gaps between boards, rot at the base, damaged or misaligned gates, and deteriorating sealant or paint. Loose hardware, standing water at the fence line, and visible ground movement around posts also indicate problems. Address these issues promptly to prevent structural failure and maintain safety.
How do I maintain a timber fence to prevent rot?
Timber fence maintenance starts with keeping the base clear of soil contact and ensuring good drainage around posts. Inspect regularly for splintering, rot, and pest damage. Apply a quality timber sealant or stain every 2-3 years to protect against moisture and UV exposure. Trim landscaping back to improve air circulation. Remove debris and leaves promptly, especially near the base. Repair or replace damaged sections immediately to prevent decay spreading to adjacent timber.
Can I pressure wash my fence, and what precautions should I take?
You can clean a fence with pressure washing, but use caution by material. For timber, use low pressure (below 1500 PSI) and keep the nozzle 30-45 centimetres away to avoid splintering. Vinyl and composite fencing tolerate slightly higher pressure but still require care. Metal fencing can handle higher pressure but may expose underlying rust. Always test on an inconspicuous area first. Avoid pressure washing if your fence is already damaged, and consider hiring a professional for valuable or delicate installations.
Additional Resources:
For guidance on fence regulations and safety standards in Victoria, refer to Victoria Building Authority guidelines on residential fencing. For pool safety fencing requirements, consult Safe Work Australia standards for residential pool barriers.